


")
The parameter dims defines the dimensions on the ground of the building and the number of views of this buildings.
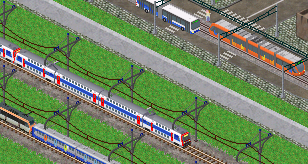
For stations, length and width are always equal to 1, views can be 2, 4, 8 and 16.
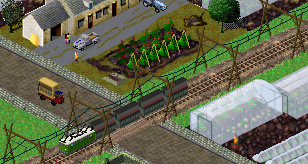
For the other buildings, the length and the width can have any value, views can be 1, 2 or 4.
References to pictures are organised as this :
a = number of the view (direction of the building). 0 : North, 1 : West, 2 : South, 3 : East (but for stations)
b = coordinates North-South
c = coordinates East-West
d = height coordinates
e = time coordinates (for animated buildings); add the parameter “animation_time”, its value is the number of milliseconds a frame stay.
f = optional parameter, 0 : normal graphics, 1 : snowy graphics
They are easy to draw, this is a graphical explaination :
 The max height is 5 squares.
The cutting of the pictures of these type of buildings is very complicated, a freeware made by Timothy is used to cut the building's picture. The software makes the graphical part of the .dat file (and the complete .dat file if you want) and the source picture with the picture of the complete building you drew.
Tilecutter has a very easy interface. It's composed of different settings to modify, when you modify a setting you have to define the part of the source picture which will be used. To load a picture, see at the top of the screen “source image location”. Use the icon “browse” to browse your folders and the icon “reload image” to reload the picture if you have modified it during the using of tilecutter.
 Arrows allow to move the red shape on the picture by 128px squares (if you are in pak128). Tick the case “fine” will make the move fine, as you were using offset.
Let's simply explain the rest :
 Seasons : summer for usual views, winter for snowy graphics (if you have ticked “Enable Winter” of course).
 Tick “Enable FrontImage” if there are two images (Back and Front), otherwise let it.
 Adjust the number of pictures and put the direction each time.
 Dimensions of your building, don't forget to adjust the size of the pakset.
At the bottom of the screen, adjust the final .png and .dat files. It's also possible to compile directly your files once created is you defined all .dat parameters. You should rather not use it if you're making several buildings at once.
 You can adjust other .dat file parameters by going into .dat File Options in the Tools menu.